Saturday, December 31, 2011

Waiting to dye...

It took a little while to get the final skeins of wool dyed to make up the yardage for the weft of CF#1 - so I tried some 'different' spinning in the interim.

I made three ply very thick (not sure of the 'grade') yarn with the 3 colour (dark blue, light blue and white) batts Anne had made while experimenting with dyeing batts.

The two skeins (about 50 yards)

Close up of the three ply
And today we also managed to get the final wool dyed - so once it is washed I'll be ready to start weaving.

Light and dark wool (the dyepot is still good)

Friday, December 30, 2011

Dressing the loom - pictorial

Chained warp
Warp tied on to back apron rod


Warp through raddle and lashed to apron rod
Long warp - creative solution to allow winding on


Wood 'brake release'
Yarn separators - made from old business cards


Lease sticks through the cross


Heddles threaded

Reed sleyed

Tied on to the front apron.

Anyone who has read Deborah Chandler's excellent book 'Learning to Weave' will recognise these steps for warping back to front.  That's the way I used to warp on the loom at home so it's the way I have started here. 


CF1 Ammened design

After looking at the design in greater depth - I realised there were a couple of flaws in it.  The broken twill design had a treadling pattern that hit a duplicate tie up - meaning you would 'unweave' the shot that had just been woven at that stage.

So keeping with the block nature as much as possible I've gone through several redesigns - this is version E - and have the following that I think will still work OK.


Wednesday, December 28, 2011

Warping

This time around I hung the warping board on the wall vertically and moved mostly up and down - said to be easier than side to side.  I didn't note the difference really!!

The stripes went on pretty easily and I didn't have too much trouble tracking the 12 threads per inch, and 16 threads of each colour - although I did have to recount a couple of times!  I've also worked out that I will need more dyed wool to finish all three scarves (my 'guestimate' calculation was low).  I have enough skeins to do the dyeing so will try and get that done in the next couple of days - I have enough to start but will wait for the newly dyed wool to make sure I have it close enough to match the original.

The stripes (10) with each at 16 threads

Warping board on the wardrobe door - warp all tied up.

Loom maintenance

After completing the merino/angora scarves (and discovering some squeaks and rattles) - I thought it worthwhile to give the Macomber a good clean and fix the small problems.

The cleaning was simple - a quick vacuum with a brush to get rid of the fluff and static clinging 'fur' from metal and wooden parts alike.  AND under the loom on the floor where the fluff turns out to be exactly the same colour as the carpet!  Mental note to put a coloured rug on the 'soon to weave' list.

Fixing the squeaks was also easy - it turned out to be heddle number 2 that was squeaking - and in fact the lam associated with it was binding slightly in the slot on the side of the castle.  Some dry 'slide all' in the slot solved the problem.

With that it's all ready to be dressed with the CF warp.

Monday, December 26, 2011

CF #1 design

Here's a draft of the design for the scarves.  I'll just have to recheck that I have the amounts correct for the three colours.
Snip from WeaveDesign. (It doesn't show 'texture' too well)

Scarf #2


Almost all the wool is used up; less than a bobbin full of white left after the expected loom wastage.  The second scarf turned out about 6 inches longer - it wasn't due to, as I had a 'short loop' of warp connected by string to equal the length of the others (I'm not sure what I did to end up with one loop (two warp strands) shorter than the rest). That loop would not go through the heddles, so was the hard stop I expected, but in the end I cut the loop and tied on some extensions and was able to weave for a further 5+ inches (I just had to slip the knot through the heddle eye - which wasn't a problem).
Both scarves
The loom is now ready for the CF scarves after a quick wipe down/dust.

Saturday, December 24, 2011

#1 Scarf

The first 'product' off the loom...
The merino/angora home spun/dyed/woven scarf
Great progress on this, the first of two on the loom at present.  The weaving was a breeze, although with a new loom, using new shuttles, hand spun wool which varied considerably in thickness, and the uncertainty of whether my calculations would work, there was a lot that could have gone wrong.

And I won't even mention the first attempt which was rough enough to demand 'unweaving' to start again once I had the hang of the loom.  Of all though, the biggest problem was the variable thickness of the yarn, which meant adjusting the weight when beating from heavy where the yarn was thicker to light where it was thinner - to keep a relatively even picks per inch.  This was entirely a spinning problem - this yarn was my first ever yarn so it varied considerably.  I think my CF spinning is a little more consistent.

I have enough warp on the loom for the second scarf - but I'll have to wait for the second 'batch' of indigo dyed merino/angora to arrive - Anne is dyeing it today.

Thursday, December 22, 2011

The Macomber

I now have the original documents for the loom.  They were found when the garage where it had been temporarily stored was being cleaned out.

It too was built in the 1970's (same decade as my Little Peggy spinning wheel).

Ordered in April of 1979 it was probably delivered 4-5 months later.  It came with a few accessories (the bench is a Macomber), and cost at the time a total of $1361.80.  The same loom today from the factory is over $4500.  I think my $500 is a suitable price for such a great loom.

Most importantly, as the serial number tag was missing from the loom - this now identifies it as B4-E3287.

I wonder who the next owner will be...

Weaving at last

All the preparation is done, the loom dressed - it's time to start weaving...

How quickly you forget how difficult it is to dress a large loom all by yourself!!  Suffice it to say I had to get quite creative, using the bench leg, some cord , a small piece of wood, and still quite a reach to be at the warp beam winder while feeding the warp in from the front.  I'll get photo's of my (hopefully much easier) next attempt.

The hand spun wool is behaving very nicely, and weaving is pretty smooth on the Macomber.  There are a few squeeks and rattles that I'll need to wax/grease/tighten, but that's to be expected on a loom that has sat for a decade.

I'm also using a 'temple' of my own design (chain for width, safety pins, string and two weights) to keep my draw in and selvedges tidy.  It seems to be working so far.

The first couple of inches - with temple in place

Small project - large loom
I have enough warp for two scarves - which I hope to knock out quite quickly if possible, then it will be time to prepare the warp and get stuck into the three CF scarves.  I'm in the process of redesigning the pattern (still two shades of blue plus white, and using a reverse block twill of some sort).  I'll post the final draft when I'm done with it.

Indigo III

On the first attempt at dyeing with indigo we tried yarn, cleaned locks and carded wool.  The overall dyeing wasn't great (the dye pot wasn't ready) and too much agitation semi-felted the locks and carded wool.  So now that we had fixed the dye pot and had success with yarn, it was time to try the other types of wool.

Anne took a few batts (from the batt mountain), and came back with three wonderful blue dyed lots of wool . No felting and three different shades - based on the number of times in the dye pot.
Indigo dyed batts with a 'control'
The batts are 3 dips, 2, 1 and the normal CF batt.

Also dye related - I've started weaving the merino/angora scarf which has a blue feature stripe - and wanted to test the colour fastness of the dyed wool.  I decided to run the little bit of wool that had been dyed for this project through my normal wool wash 'cycle' - it passed with flying colours (or rather not flying/running colours)

Yarn in the rinse water.

Speed wobbles

I was at the December third Thursday spinning group and about two thirds of the way through the night when I noticed that the wobble (which I had put down to an uneven floor) seemed to be getting worse.  On closer examination it was not the floor at all, but the two main upright supports had worked loose.

Turns out they are just glued and over the years - the wheel was build in Dunedin, NZ in 1974 - the glue had dried out and the two turned uprights were rocking back and forth based on the position of the crank that turns the wheel.

I stopped then and there and once home that night quickly had a look at the problem and determined it wouldn't be at all difficult to remove the uprights, after taking off most of the other bits and pieces.  The wheel was due for a good clean and oil anyway.

Some glue, 24 hours to dry, a thorough clean and application of lemon oil, and the wheel is as good as new.

Back to spinning CF...
Looking brand new and no wobbles.

Tuesday, December 13, 2011

Ready to warp


Finished the preparation for the first weaving test of the new [old] Macomber loom - I'll have to think of a decent name for it/her/him?  The goal is to use up all of the original merino/angora blend 3-ply that I have left over from my first spinning experiments when arriving in the US (several hundred yards).

Unfortunately I left the ball winder I have, in NZ and don't have a swift so converting skeins to warp needs an intermediate step of winding balls of wool.

The final ball - in preparation
 The next challenge will be to see if I calculated the warp and weft correctly - as this is all I have left!

All the balls plus the indigo dyed 'feature' wool on the shuttle

Monday, December 12, 2011

Guild meeting

This last Saturday was the December guild meeting - and was run in a slightly different way.  Each of the study groups (who meet at various other times during each month) had a table and were invited to bring along examples of our work, and provide demos/hands on guidance to anyone interested in trying something new.
Third Thursday Spinners table

I was able to take some time to visit one of the felting groups - they letting members try their hand at felting by creating a book mark out of merino wool they had brought along.  One of them was easily talked into a challenge of trying out my own Clun Forest wool to see how it compared with Merino.  With a lot of skill (making it look easy) some of my wool was quite readily converted into a [somewhat large] book mark.
The CF felt (with some coloured Merino marking)

The felting success was good news - as our first attempts didn't fill us with confidence that the wool would felt.  It turns out to all be in the technique - so we can now proceed and make some felt products to add to the output.  More in the future.

Sunday, December 11, 2011

Indigo II

Our second attempt at dyeing was a success.  We were prepared to measure/test/adjust the pot to bring it up to a 'ready' state, based on some instructions for 'refreshing' an Indigo dye pot.  As it turns out we didn't have to, as on checking (the first step) we could see a lovely green color to the 'blue' dye pot indicating that the indigo was in the correct state to dye.

The first job was to measure out the correct amounts of CF wool for each color and also to split that into 3 even lots.  Anal approach possibly, but that allowed me to 'dunk' each smaller amount for 5 minutes, move to the next and when all three were done start again - meaning that the first lot had been out and exposed to air for about the right amount of time before repeating.
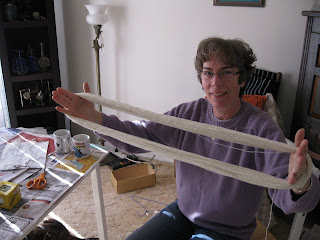
First stage - 6 x 133 yard mini skeins from these originals
In one of those happy coincidences, a single wrap from my wrist to elbow and back  is one yard so counting the amounts was relatively easy, and my 'guess' at how much was left on one skein was accurate to within inches :-)  We came out with a little more than estimated, with the only worry now is whether my original maths were correct or not!!
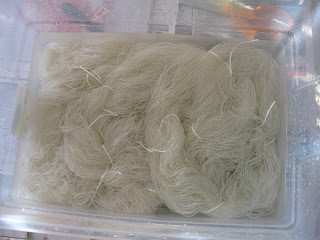
6 x 133 yard skeins tied and soaking
After soaking the wool for 30 minutes to ensure there was no air trapped in it (which converts the Indigo back) I did one batch of 3 for 3 dips, and the second batch for just a single dip each.  The dyeing went well - and produced the colors we wanted (dark blue and a light blue to combine with the original white).  Each batch then had a quick dunk in water with vinegar (to neutralize the alkaline solution (or was that acid?)), then a couple more rinses to get rid of the surface indigo.  Then out to dry.


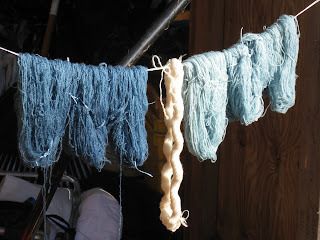
Dyed wool and a partial skein of original.
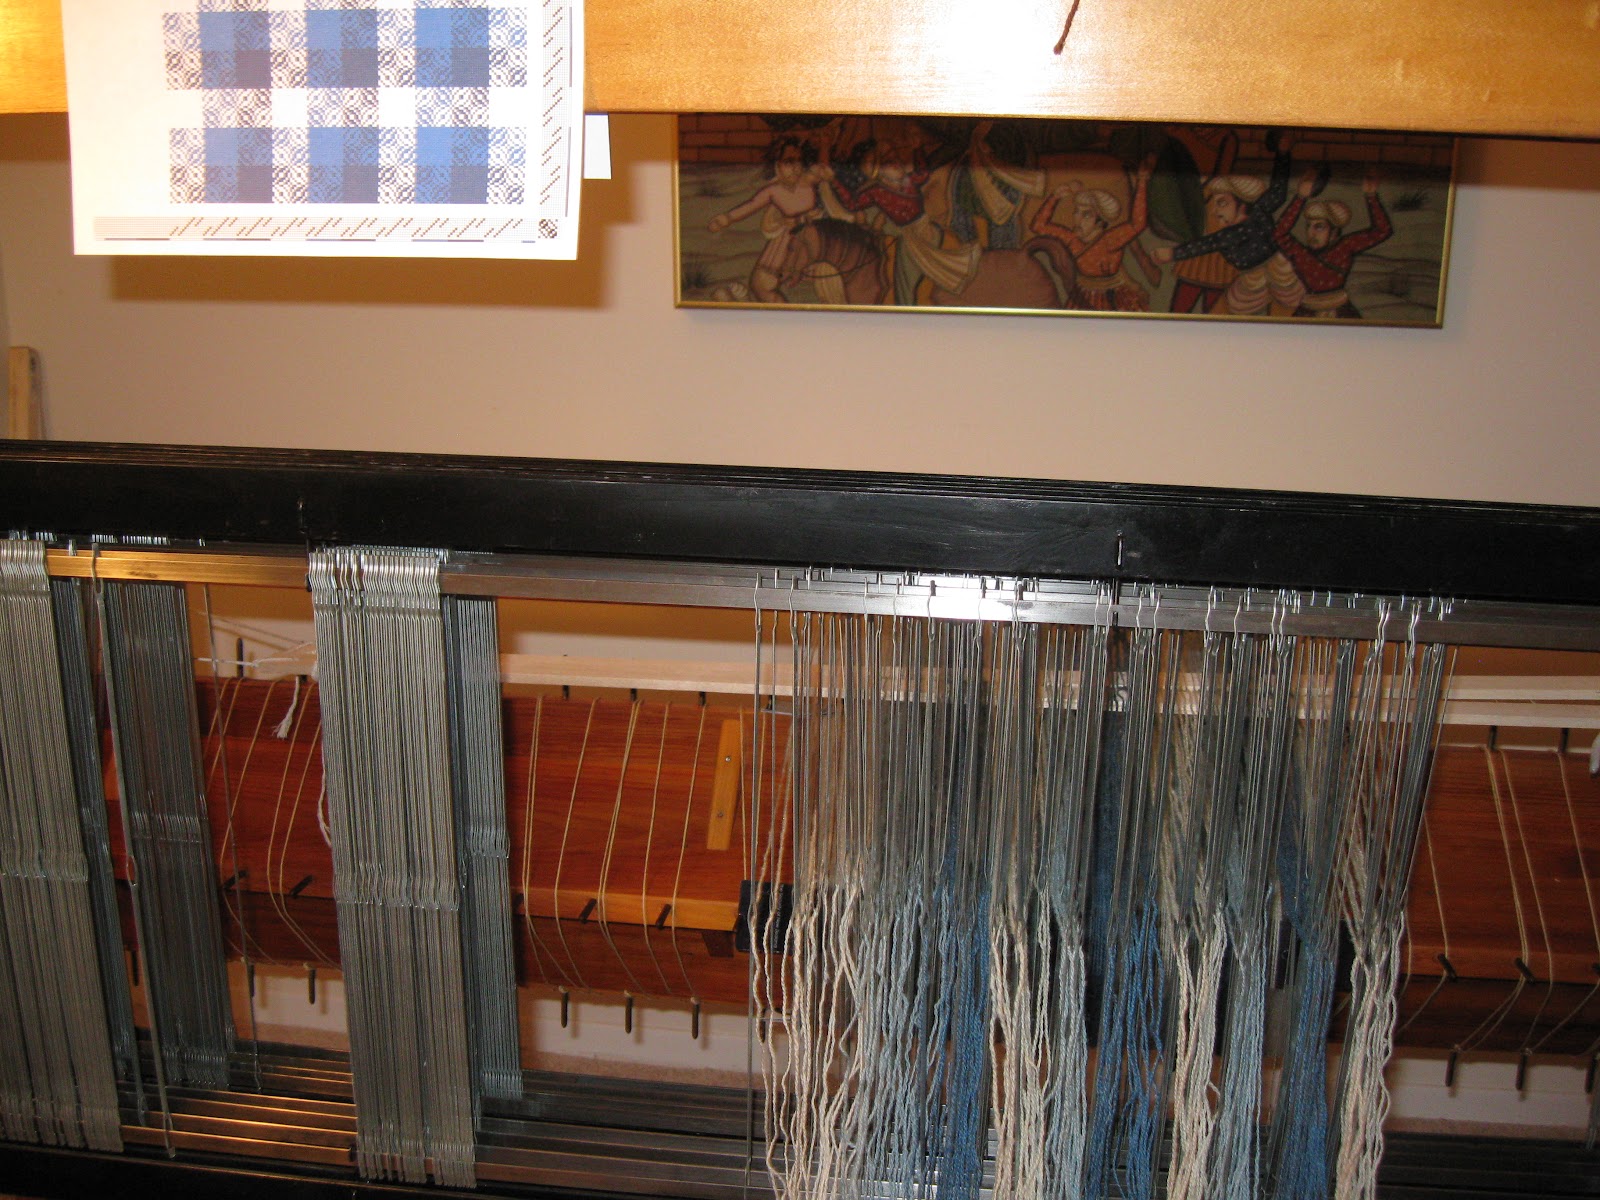
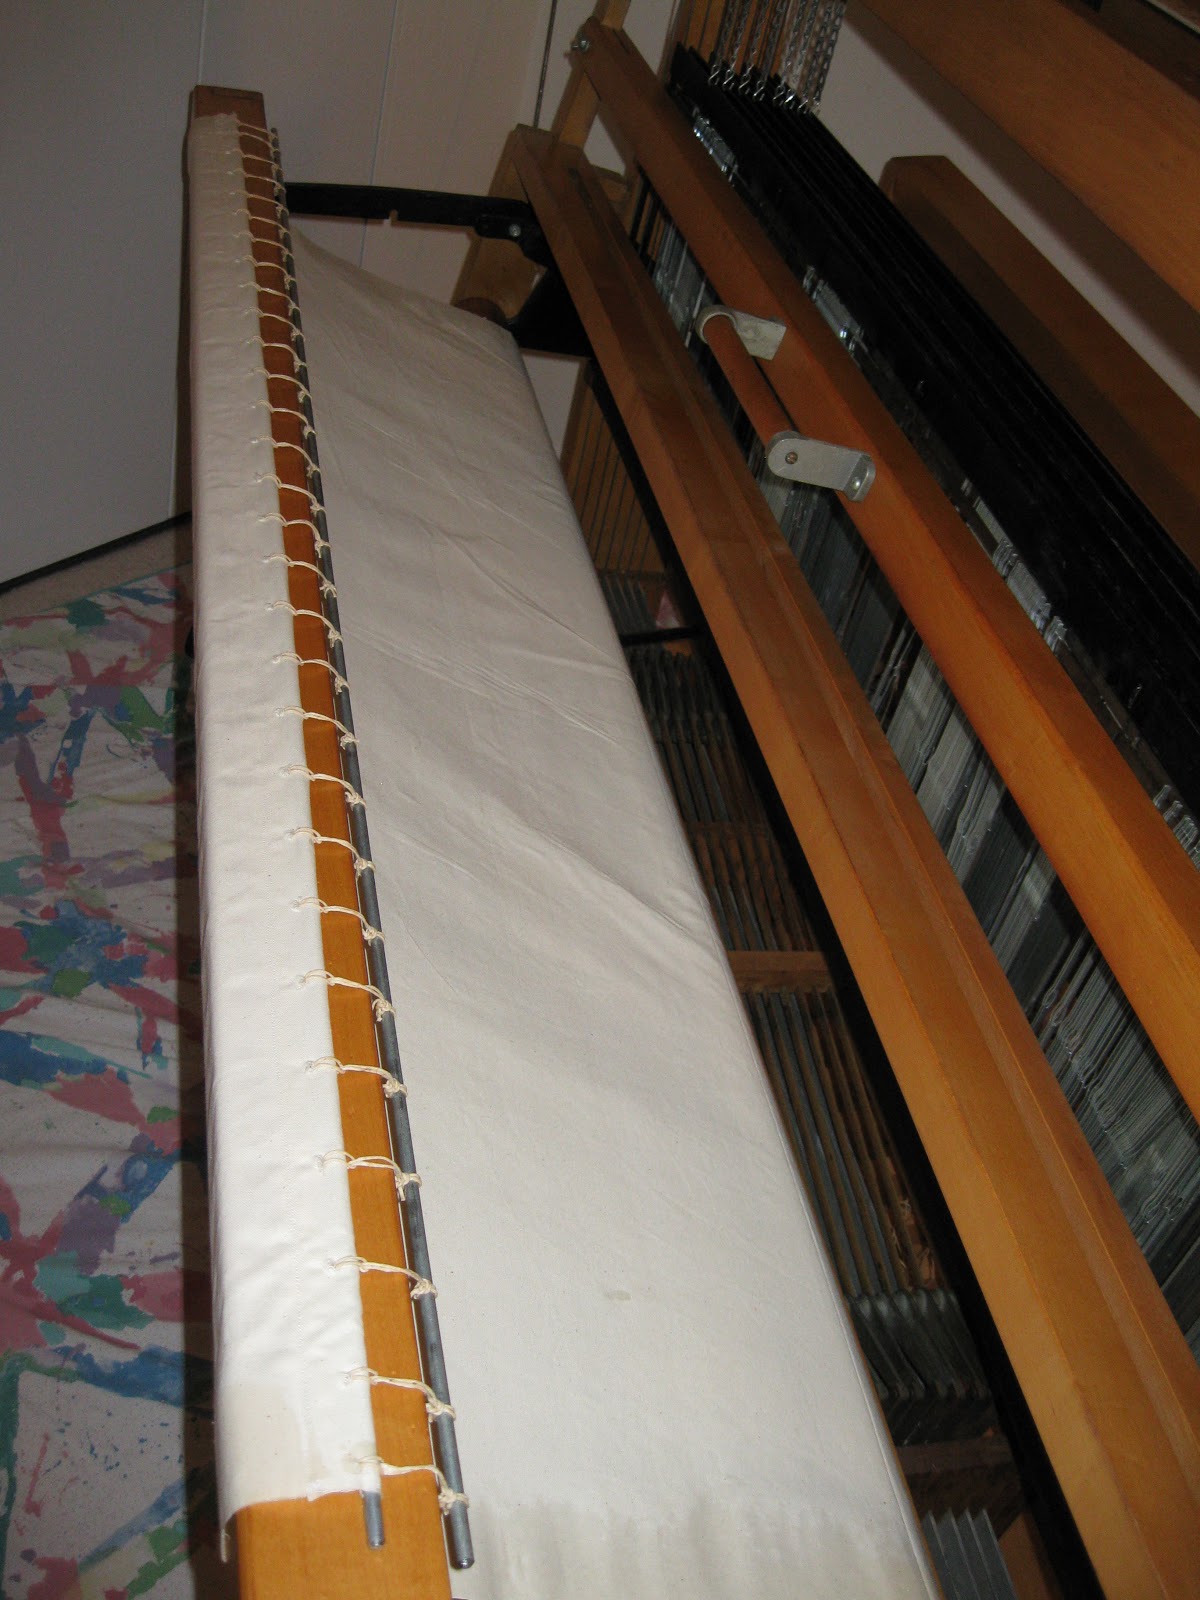
The wool in now drying here at home and I may give it a final wash before heading into the next stage which will be to wind the warp.  That will have to wait for the 'quick' merino scarf project (with a feature indigo stripe of course) - more in future blogs.

Final wool sort

Taking advantage of some sunshine Anne and I pulled out the remaining bags of raw wool (and some that we had skirted and picked over once already), and did a final sort, then divided that remaining wool into storage bags.

This time it was certainly easier - the wool was less 'greasy'* - I suspect it is because the lanolin etc has hardened up somewhat - that in itself may mean I may have have to wash a couple more times to melt/dissolve the grease and loosen the dirt.  We were also VERY fussy - saving only the best of the locks.

It still resulted in 7 bags of wool (about a fleece each).

Sneakers thinking about 'helping'

Anne buried in the mountain of wool

Making inroads
* and a LOT less smelly!!

Friday, December 9, 2011

Weaver's food

My snacks for the guild meeting tomorrow...

Coffee Coasters

The night before the guild meeting and I've finally finished the other two coasters.  It's been a busy week this week with several Christmas parties and some food/snack prep to do - left precious little time to convert the paper yarn into coasters.  I figured a 'set' of four would do for this exercise, glad that wasn't six!!

There are certainly MANY things I would try next time to make the job easier...

Finshed spun paper coffee coasters

Close up

Thursday, November 24, 2011

Third Thursday Spinners

I mentioned some time back that the 'project' we decided on for our monthly spinning group (sub-group of the Fiber Guild) was to 'spin' paper.  Some are doing better than others.

In Japan it is customary to spin a particular type of rice paper into quite strong strands that can in turn be woven - and they use these as work clothes (in the field I am guessing). Two of the members are doing this, another spun some newspaper (hard), another spun and created a small bowl (crochet). I started with varying thicknesses of brown paper - first on the wheel - disaster: it just wouldn't get through the orifice and onto the hooks/bobbin, just too twisted, and once jammed it then spun tighter and broke.  I tried some on the drop spindle with only a little more success.

I then found out that coffee filters (used or new) could be spun as they have some form of plant fiber in them.  Voila - combine the two and away I went; still using the drop spindle.  The process involves cutting long strips of both materials and then. effectively, spinning/twisting them together.
'Spun' paper on the drop spindle and the frame loom in front

I built a small frame loom (on a wooden chopping block) with nails and foam board so that I could hand weave the 'yarn' into coffee cup coasters.
Weaving with the shed open (knitting needle)
The paper yarn retained quite a twist - making it tricky to pull through the warp without catching, but a little bit of tension on both ends while doing the threading seemed to work.
The finished coaster
I now need to make at least 3 more to make a 'set' ready to display on our group table at the Guild Christmas meeting in a few weeks.

Wednesday, November 16, 2011

Reedy to go

Well I will be 'ready' to go once the reed arrives - all other repairs/fixes and cleaning now done.

I removed any broken or frayed strings from the sectional beam and replaced those bits with the string removed from the front
Broken strings to the left, good ones to the right.

Once the strings were fixed I attached the metal rod that the weaving will be tied to.
Strings attached to rod (and draped over back beam)
With that job out of the way I only had to finish wiping down the wood work with wax and giving it a polish.
Almost ready to go

Tuesday, November 15, 2011

New apron

As mentioned - one task was to remove the old string from the cloth beam (some broken strands) to re-use in fixing the couple of broken strings on the sectional warp beam (at the back).  I had bought a new cloth apron from Macomber - which comes complete with new staples and everything ready to fit, so the string had to go anyway.

I took my time carefully removing the old string in one piece so that I can re-use it on the back.  I also also managed to save most of the old staples (is that my Father coming out in me :-)  for re-attaching the back strings.

The apron went on easily and is now all set up for the first 'tie-up' when I dress the loom.

Removing string from cloth (front) beam

String and staples removed

Apron (unwound and in position over breast beam)

Comfortable weaving

Another part 'missing' from the Macomber was a foot rail - a length of wood that runs across the front of the loom, just in front of the treadles, and allow the weaver to rest one or the other foot on it while not actually pushing down on a treadle.

The loom itself is, I believe, made of maple, so I will eventually get a piece of maple cut to size and length but in the meantime we were in a hardware store getting some chain (to make part of a 'temple' - that'll be a blog entry once I get weaving), so I checked to see if there was any suitable lumber to make into a foot rail.  Sure enough there was a length of pine (fairly knotty), that would do.

I had to cut some slots to make it fit into the slightly smaller 'rail holders' but that didn't take long.  A quick sand and then coat of wax and it is good to go.

'New' footrail - not quite matching the 'age' of the loom

Chilli break

In between some cleaning/repairs I finally got around to making up some harissa and some chilli sauce.

The harissa recipe has evolved from one given to me by my brother Graeme, way back when he had a Mediterranean/North African item or two at his restaurant.  Basically the same roasted pepper, chilli, cumin, coriander, olive oil mix with  a couple of extras to preserve that I've been making for quite a few years.  It keeps well in the fridge.

And the chilli sauce is a similar base, with some tomato, vinegar, salt, and just a hint of 'smoke'  - usually from smoked paprika powder, but couldn't get any this time so had to resort to a few drops of 'liquid smoke'!  Not ideal but does the trick.

Harissa to the left, chilli sauce behind [some of the] the ingredients

Saturday, November 12, 2011

More loom cleaning

The process of getting the loom clean and repaired is drawing to a close.  All heddle frames are now de-rusted and back on the loom, all the spare parts are fitted.  Just awaiting the reed.  In the meantime I can clean up a couple of little bits of the woodwork, attach the cloth beam apron, and repair a couple of strings on the warp beam.

It was nice to finally finish the frames and reclaim the dining room table!


Comparison of the orginal (left) and cleaned (right)